
TL;DR
Choose PDF for a finished layout containing text, vector logos, multiple design elements, pages, bleed, or printer-requested production settings. Choose PNG for a single high-resolution raster image, especially one needing a transparent background, when the printer explicitly accepts PNG. Neither extension guarantees quality: a PDF can contain a blurry image, and converting a small PNG to PDF does not create missing detail.
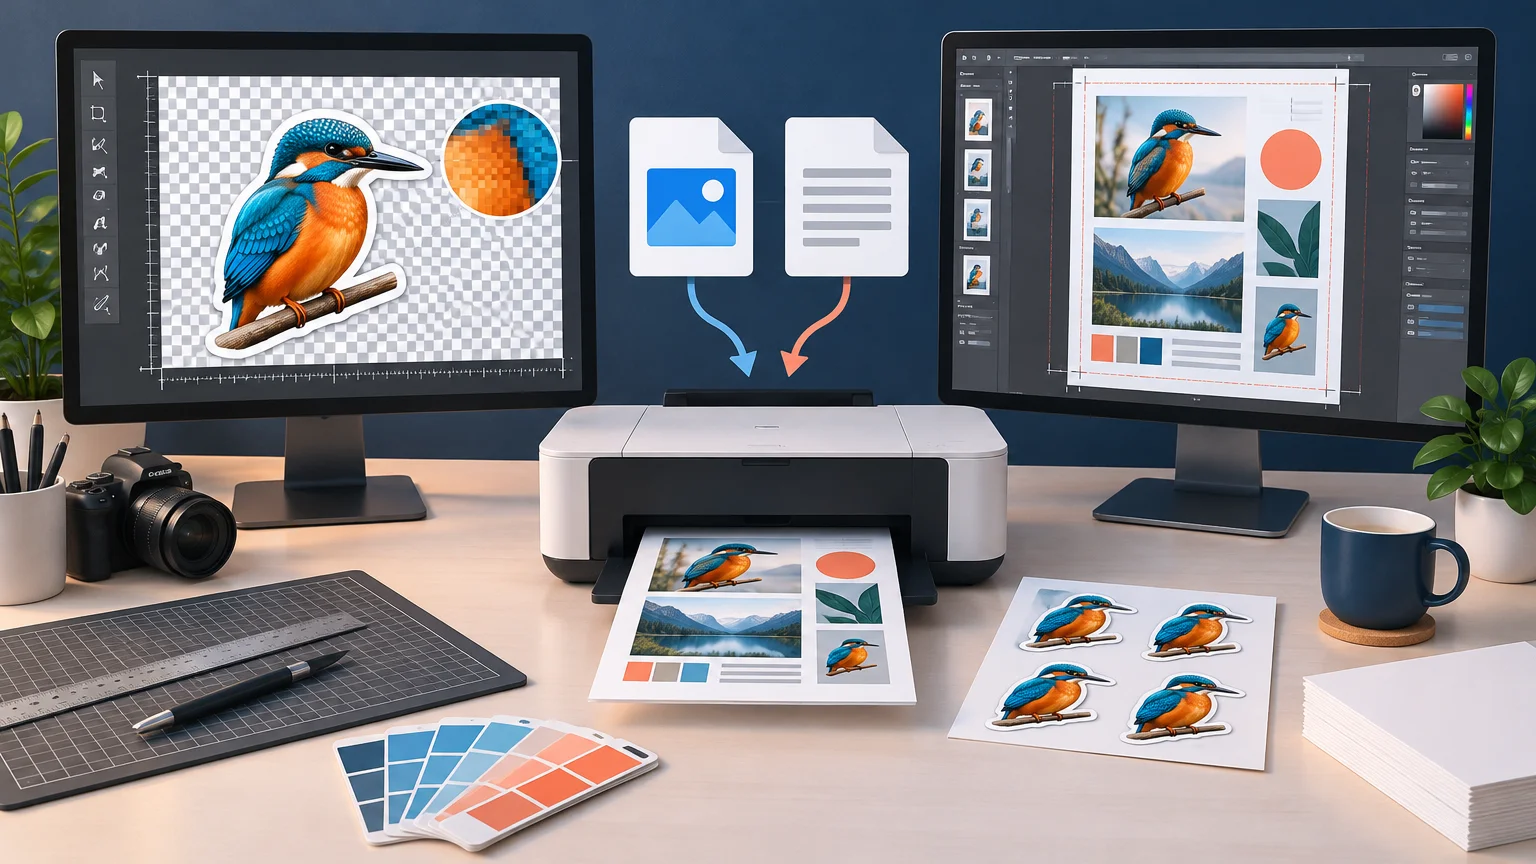
The practical answer to PNG vs PDF for printing depends on what you are handing off. A PNG is fundamentally a pixel-based image file. A PDF is a document container that can preserve a mixture of text, vector graphics, and raster images in a fixed layout. That makes PDF the usual choice for flyers, cards, brochures, packaging layouts, and other composed documents, while PNG remains useful for standalone artwork and transparent assets.
PNG vs PDF for printing at a glance
| Decision factor | PNG | |
|---|---|---|
| File structure | A single raster image made from pixels | A fixed-layout document that can contain text, vectors, and raster images |
| Scaling | Limited by the image’s pixel dimensions | Vector elements can scale cleanly; embedded raster images remain limited by their pixels |
| Text and logos | Rasterized and susceptible to softness when enlarged | Can preserve text and vector logos when exported correctly |
| Transparency | Supports full and partial alpha transparency | Can retain transparency, subject to export settings and the printer’s workflow |
| Pages and layout | Normally one image without document-page features | Supports page geometry, multiple pages, and complete layouts |
| Print controls | Limited as a final production package | Can support bleed, trim geometry, embedded fonts, output intent, and PDF/X workflows |
| Best fit | Standalone raster art, photos, or transparent cutouts accepted by the printer | Flyers, cards, brochures, labels, packaging, and other finished layouts |
The most important distinction is not simply PNG versus PDF. It is pixels versus preserved document content. PDF can contain both raster and vector elements, but placing a low-resolution image inside a PDF does not turn that image into a vector or make it sharper.
Start by deciding whether you have an image or a layout
Use PNG when the file is one complete pixel-based image and its existing pixel dimensions are sufficient for the intended print size. Typical examples include a photograph, a rendered illustration, a flattened digital painting, or a logo cutout with transparency. The PNG specification supports alpha transparency, including partially transparent pixels such as soft shadows and antialiased edges. The W3C PNG specification documents the format’s image and transparency behavior.
Use PDF when the file is a composed print piece rather than just an image. A business card with live typography, a flyer combining photos and vector shapes, or a multipage brochure benefits from PDF’s ability to preserve a fixed page and package different kinds of content. PDF can keep vector text and graphics scalable when the source application and export settings preserve them.
A transparent PNG can also be an ingredient inside a PDF. For example, you might place a transparent product cutout over a colored background in a layout application, add vector text and bleed, and then export the assembled page as the printer’s requested PDF. The asset and the delivery file do not have to use the same format.
Check the PNG’s effective print resolution
A PNG can print beautifully, but its useful print size is constrained by its pixel dimensions. To estimate the output size, divide the pixel dimensions by the target pixels per inch, or PPI. Enlarging the physical dimensions without adding meaningful image detail spreads the same pixels across more inches and reduces effective resolution. Adobe’s image size and resolution guidance explains this relationship and the difference between resizing and resampling.
- Print width in inches = pixel width ÷ target PPI
- Print height in inches = pixel height ÷ target PPI
- Required pixel width = desired width in inches × target PPI
- Required pixel height = desired height in inches × target PPI
For example, a 1200 × 1800-pixel image prints at 4 × 6 inches when calculated at 300 PPI: 1200 ÷ 300 = 4, and 1800 ÷ 300 = 6. An 8.5 × 11-inch US Letter image would require 2550 × 3300 pixels at the same target.
A 300 PPI target is a useful general benchmark for high-quality work viewed at close range, but it is not a universal rule. Large displays viewed from farther away can use a lower pixel density, while a particular process or provider may set a different requirement. If your source came from a screen capture, use the same calculation rather than assuming screen appearance predicts print quality; screenshots often print worse than expected because their available pixels are quickly exhausted at larger physical sizes.
Why changing a PNG to PDF does not improve quality
Imagine a 600 × 600-pixel logo intended to print 6 inches wide. At that size, its effective resolution is only 100 PPI. Saving or placing it in a PDF changes the container, not the underlying 600 pixels. The edges will not suddenly become vector paths, and small lettering will not regain missing detail.
The proper fix is usually to locate the original vector logo, rebuild simple shapes and text as vectors, obtain a larger raster source, or reduce the print size. AI enlargement or resampling may alter the appearance, but it cannot recover the exact original detail that was never captured. Inspect enlarged or generated artwork for edge artifacts, malformed details, and texture problems using a process such as this preflight check for AI-generated artwork.
A PDF can still be blurry for the same reason. Its text and vector shapes may be perfectly sharp while an embedded photograph is too small for its placed dimensions. Check the effective resolution of every raster image in the layout, not merely the PDF filename or export preset.
Transparency, cut lines, and sticker artwork
PNG is convenient when artwork needs a transparent area around an irregular shape. That can make it a practical upload format for a simple sticker graphic if the printer accepts PNG and generates the cut line through its ordering system.
More controlled sticker and label workflows may require a template, bleed, safe area, or a separate vector cut path. In that situation, a finished PDF is often more appropriate because it can hold the artwork in a defined page layout. If you are preparing a physical product, check the specifications before you order custom stickers rather than assuming transparency alone tells production where to cut.
For a 5 × 5-inch sticker designed around a 300 PPI raster target, the finished-size artwork would need 1500 × 1500 pixels before accounting for any printer-required bleed. Keep text and essential details inside the stated safe area. For a broader design workflow, see the guide to preparing personalized 5 × 5 stickers.
PDF is usually stronger for complete print layouts
A PDF is generally the safer handoff when exact positioning matters. Flyers, business cards, menus, brochures, and packaging combine elements that should not shift between computers or applications. A correctly prepared PDF can preserve the page dimensions, vector graphics, font information, images, and production geometry in one file.
Some printers request a particular PDF/X standard. PDF/X is a family of print-exchange standards intended to make print reproduction more reliable through requirements that include embedded resources and defined output conditions. It does not impose one universal image-resolution or bleed value for every job. Use the exact PDF/X version and export preset requested by the provider instead of selecting one because its name sounds more professional.
PDF/X-4 is appropriate when the printer specifically requests it or provides a matching preset, especially in workflows designed to handle modern transparency and color management. It is not automatically the correct choice for every older RIP, online uploader, or production process. Adobe’s print-oriented InDesign documentation likewise advises exporting according to the print provider’s requirements.
Color, bleed, and production settings are printer-specific
Do not convert every file to CMYK by habit. Some providers request RGB files and perform conversion using profiles for their equipment; others require a particular CMYK profile or support spot colors for designated elements. The correct choice depends on the printing process, substrate, software, and provider. Ask for the required color mode, ICC profile, treatment of rich black, and handling of spot colors.
The same caution applies to bleed and crop marks. Bleed extends background artwork beyond the trim edge so minor cutting variation does not expose an unprinted sliver. One-eighth inch, or 0.125 inch, is a common example, but the actual value must come from the printer and product template. Crop marks should only be included when requested; some automated systems want bleed but no marks.
PNG itself does not provide a conventional multipage print layout with explicit bleed boxes and crop marks. You can make a PNG larger than the finished dimensions to include extra edge artwork, but the printer must know how that enlarged image maps to trim size. A template-based PDF communicates this geometry more reliably when the workflow supports it.
Three practical choices
A transparent sticker logo
Use a PNG if the ordering tool explicitly accepts transparent PNG files, the pixels support the selected sticker size, and the service creates the cut line. Use PDF when the provider supplies a template or requires vector paths, named cut lines, bleed, or exact placement. Keep the original vector artwork even if you submit a PNG.
An 8.5 × 11-inch flyer
Use PDF. Build the document at its finished dimensions, add the requested bleed, preserve typography and vector logos, and ensure placed photographs have adequate effective resolution. Export with the printer’s preset or documented PDF settings. If the design began as a small online post, follow a deliberate social-media graphic to print workflow rather than merely enlarging the original canvas.
A photograph-only art print
A high-resolution PNG can work if the lab accepts it and its color instructions suit your file. PDF may add little value when there is no typography, vector art, page layout, or production geometry to preserve. Compare the image’s pixel dimensions with the intended output size, then use the format and color profile requested by the lab.
Preflight checklist before sending the file
If you are sending PNG
- Confirm that the printer accepts PNG for this specific product.
- Check pixel dimensions against the final physical size and target PPI.
- View the image at high magnification for jagged edges, compression artifacts, halos, or accidental transparent pixels.
- Confirm whether transparency should remain or be placed over a defined background.
- Follow the provider’s requested color mode and ICC-profile instructions.
- Add printer-specified bleed only through an approved template or documented setup.
- Do not assume changing the resolution metadata adds real pixels.
If you are sending PDF
- Set the correct finished page dimensions before export.
- Add the exact bleed requested by the printer.
- Keep text and important content inside the safe area.
- Preserve vector text, logos, and line art where possible.
- Check the effective resolution of every placed raster image.
- Embed fonts or otherwise follow the provider’s font requirements.
- Use the requested color profile, spot-color setup, and PDF or PDF/X preset.
- Include crop marks, cut paths, or other production marks only when instructed.
- Open the exported PDF and inspect every page at high magnification before uploading.
The final recommendation
For most complete print designs, send a properly exported PDF because it preserves the page, text, vector elements, and production setup more reliably. Send PNG when the job is genuinely a single raster image, transparency is useful, the available pixels support the print size, and the printer accepts the format.
Your next step is to download the provider’s template or current file specification before exporting. Match its page size, bleed, safe area, color, resolution, and file-format requirements, then inspect the exported file itself. The best choice in PNG vs PDF for printing is not the format with the more professional-sounding name; it is the file that preserves your artwork and fits the production workflow without guesswork.
References
- About the Portable Document Format – PDF Association
- Portable Network Graphics (PNG) Specification (Third Edition)
- Understand raster and vector files in Photoshop on desktop | Photoshop
- Image size, resolution, and resampling in Photoshop | Photoshop
- Print resolution for images in Photoshop | Photoshop
- PDF standards – PDF Association
- PDF/X: The key facts – PDF Association
- helpx.adobe.com
- What is Bleed? | Client Tools | Printing Services