
TLDR
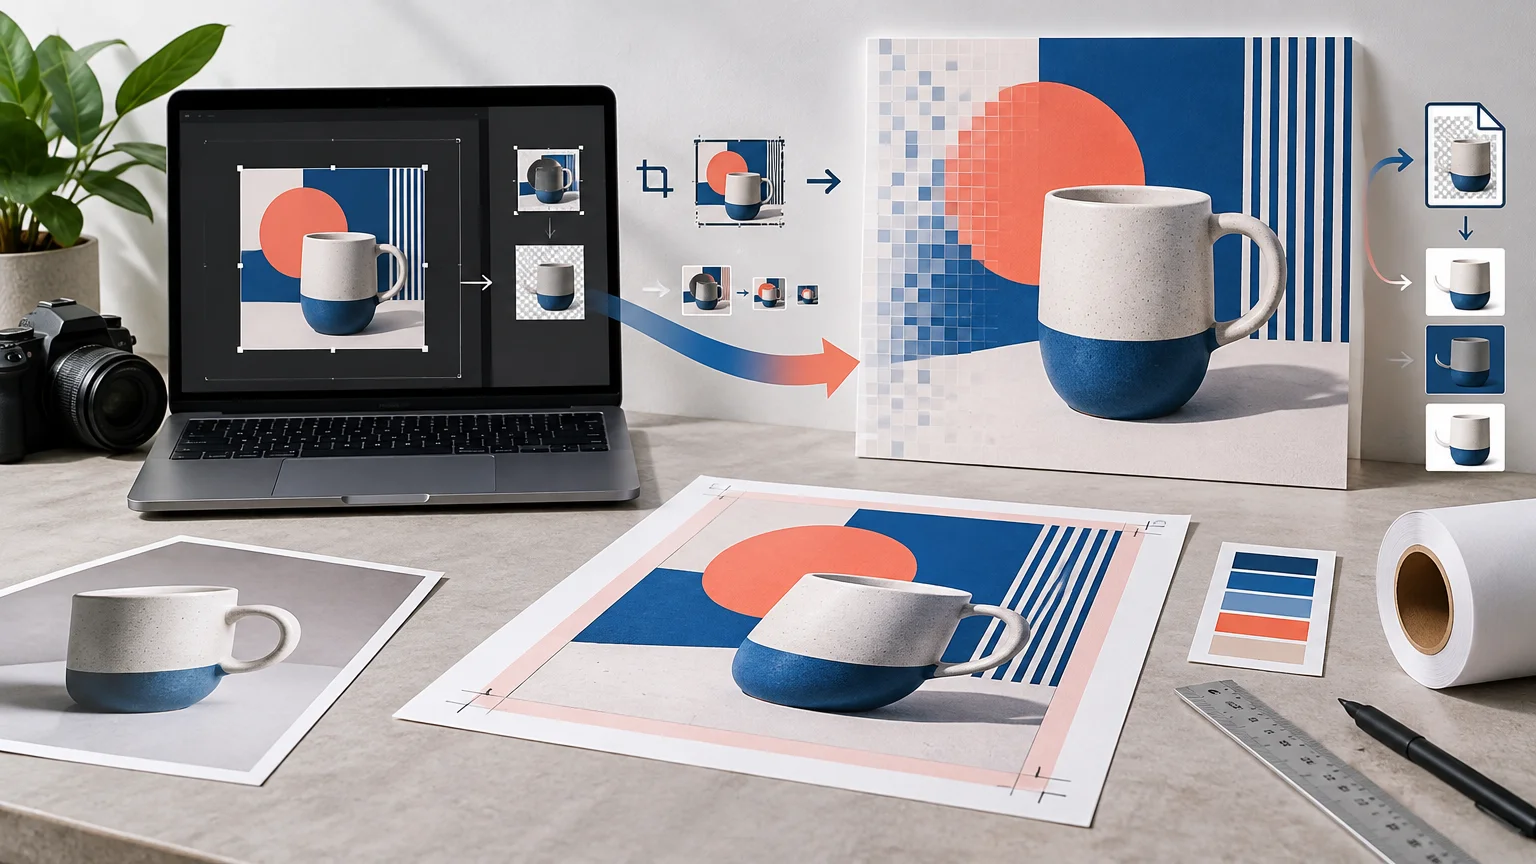
To convert a social media graphic to print, start with the original editable design or largest available image—not a screenshot. Choose the final printed size, divide the image’s pixel dimensions by that size to find its effective pixels per inch, and rebuild text or logos if they are too soft. Then adapt the design to your printer’s template, including bleed and safe areas, and export the file type the printer requests. Changing a 72 DPI label to 300 DPI without adding real image detail does not make a blurry file sharper.
A social graphic can often produce a sharp small print, but it is not automatically a print-ready asset. Social files are usually built around screen dimensions, while print production depends on physical size, available pixels, trimming tolerances, color behavior, and the receiving printer’s specifications. The reliable approach is to treat this as a source-to-output workflow rather than a one-click DPI conversion.
Find the best source before changing anything
First, identify what you actually have. The best-case source is an editable design containing separate text, logo, shape, and image elements. A layered Photoshop document, an original design-app project, or vector artwork gives you much more room to change dimensions without degrading every element. Photoshop’s PSD format can preserve layers, masks, effects, and other editing information, which is why an editable master should be retained separately from delivery files.
If the editable project is unavailable, look for the highest-resolution export, original photograph, or original logo. Download the source from shared storage rather than copying a preview from a social platform. Avoid screenshots when another version exists: they can capture interface elements, omit pixels, introduce scaling, and flatten text and graphics into one image.
Do not enlarge or overwrite the only file you have. Duplicate it, record its pixel dimensions, and keep the untouched source. A simple folder structure such as Source, Working, Proofs, Web, and Print makes later revisions easier. If version confusion is already a problem, use a consistent digital asset workflow before creating more exports.
Calculate whether the image has enough detail
Pixels describe the image’s digital dimensions. PPI, or pixels per inch, describes how densely those pixels will be placed at a chosen physical print size. Printer DPI refers to a printer’s output behavior and is not interchangeable with the image’s PPI.
Adobe distinguishes an image’s pixel dimensions from the resolution assigned to its physical dimensions. It also defines resampling as the process that adds or removes pixel information. Its image resizing and resolution guide identifies 300 PPI as a typical print-quality target. That makes 300 PPI a useful starting point for detailed work viewed at close range, although it is not a universal requirement for every printer, material, or viewing distance.
Use this calculation: effective PPI = pixels along one dimension ÷ printed inches along the same dimension. You can reverse it to estimate print size: print inches = pixels ÷ target PPI.
For example, a 1080-pixel-wide square printed 3.6 inches wide has an effective resolution of 300 PPI because 1080 ÷ 3.6 = 300. Print the same file 6 inches wide and it provides 180 PPI. Its metadata may still display “300 DPI,” but the file does not contain enough pixels to deliver 300 pixels per inch at 6 inches wide.
Approximate print sizes at 300 PPI
| Pixel dimensions | Approximate size at 300 PPI | Likely use |
|---|---|---|
| 1080 × 1080 px | 3.6 × 3.6 in | Small square card, label, or insert |
| 1080 × 1350 px | 3.6 × 4.5 in | Small portrait card or print |
| 1200 × 1500 px | 4 × 5 in | 4 × 5-inch print |
| 2400 × 3000 px | 8 × 10 in | 8 × 10-inch print |
| 2550 × 3300 px | 8.5 × 11 in | US Letter page |