
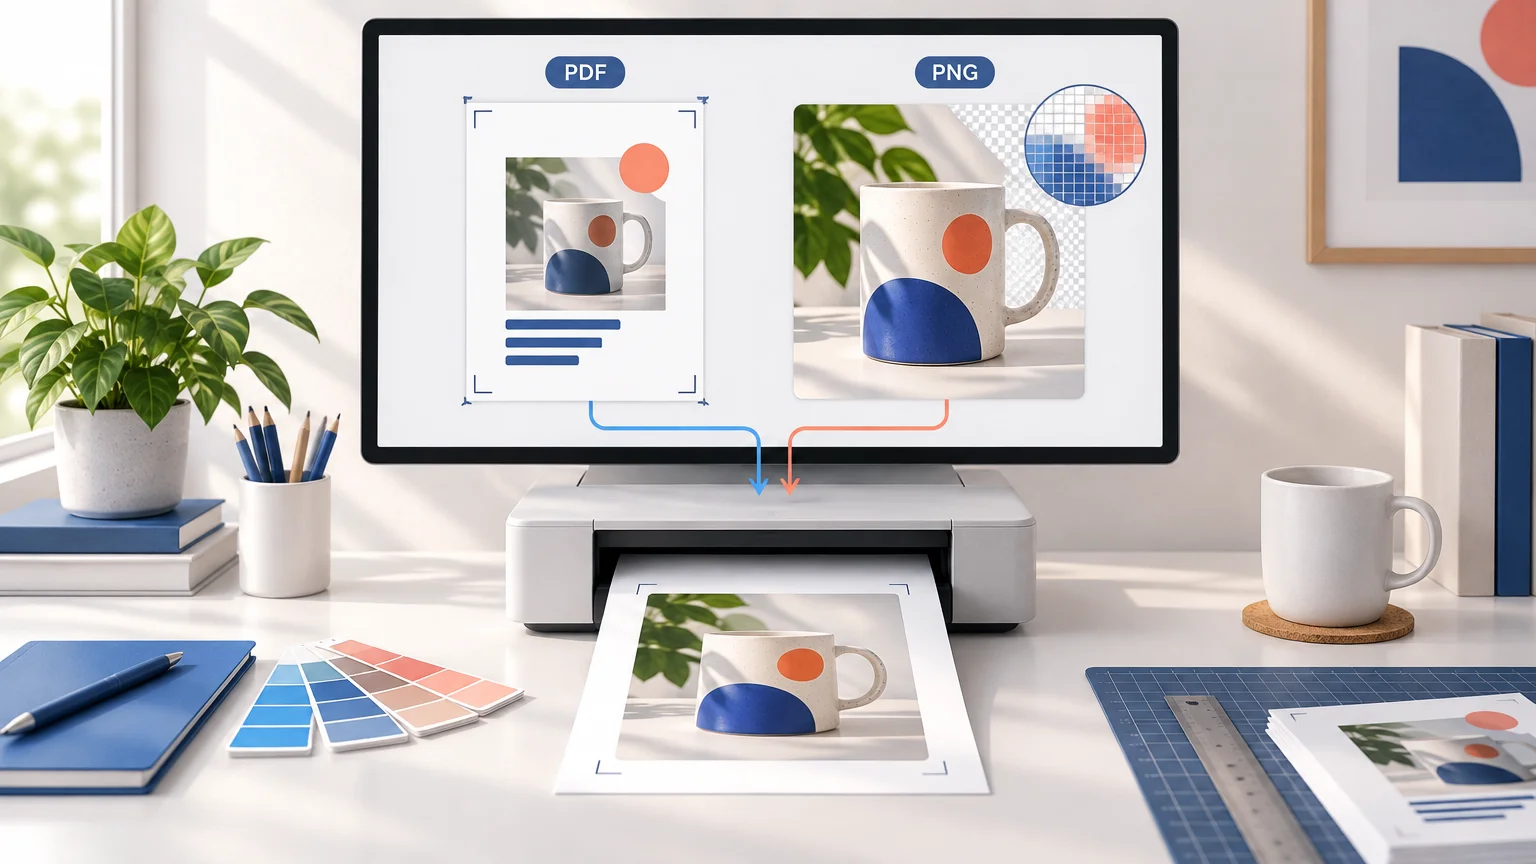
TLDR: PDF for layouts, PNG for single raster images
For most finished print layouts, choose PDF. It can package text, vector artwork, placed images, page dimensions, and production settings in one file. Choose PNG when the printer accepts it and you are supplying one correctly sized raster image, such as a flattened illustration or design with transparency.
The practical answer to PDF vs PNG for printing is not that one extension always produces better quality. A PDF containing a small, blurry image remains blurry. A PNG with enough pixels for its final dimensions can print sharply. Start with the printer’s specifications, then evaluate the actual contents and resolution of your file.
PDF vs PNG for printing at a glance
| Decision point | PNG | |
|---|---|---|
| Best role | Complete layouts and production handoff | A single raster image |
| Artwork types | Can contain text, vector shapes, and raster images | Raster pixels only |
| Multiple pages | Supported | Not a practical multipage document format |
| Resolution | Vectors may remain scalable, but placed images still need enough resolution | Limited by the image’s pixel dimensions |
| Transparency | Can preserve transparency in suitable workflows | Supports alpha transparency |
| Bleed and page geometry | Well suited to defined pages, trim, bleed, and printer marks | Bleed must be built into the image dimensions |
| Typical use | Brochures, cards, labels, posters, packaging, and complete page designs | Flattened artwork, illustrations, screenshots, or accepted upload images |
| Main risk | Assuming every PDF is automatically print-ready | Assuming lossless compression means unlimited print resolution |
PNG is a losslessly compressed raster format that supports grayscale, indexed-color, and truecolor images, with optional alpha transparency. Lossless compression preserves the pixels stored in the file; it does not create detail that was never captured or drawn. The technical capabilities are documented in the W3C PNG specification.
Why a PDF is usually safer for a finished design
A finished design often contains more than a picture. It may include a logo, small type, vector lines, background color, several placed photographs, and a page that must match an exact trim size. A print-oriented PDF can keep these elements together while preserving vector content and fonts according to the export workflow.
PDF is usually the better choice when your project includes any of the following:
- Small text that needs to remain crisp
- Logos, icons, diagrams, or other vector artwork
- Several photographs or design elements arranged on a page
- More than one page
- An exact trim size plus bleed and a safe area
- A printer-supplied PDF preset or PDF/X requirement
- A need to preflight fonts, image resolution, page size, or color settings
Adobe’s print-production guidance treats PDF as a production workflow rather than a guarantee of quality. Its InDesign guidance includes checking for issues such as missing fonts and images below the intended resolution, then exporting with the required bleed and color settings. Adobe also recommends confirming the receiving printer’s requirements.
PDF/X-4 can be appropriate when a printer specifically supports or requests it, but it is not a universal rule. A provider’s job-specific preset should take priority over a generic preset because the expected bleed, color profile, transparency handling, and marks can differ.
When a PNG can be print-ready
A PNG can be perfectly usable for printing when it represents one complete raster image, has enough pixels at the final size, and is accepted by the receiving service. Common examples include a flattened digital illustration, simple merchandise artwork, or a transparent graphic placed through an online product editor.
Use PNG when all of these conditions are true:
- The printer or upload platform explicitly accepts PNG
- The design is intended to be a single raster image rather than an editable page layout
- The pixel dimensions support the requested physical size
- Any required bleed is included in the canvas dimensions
- Transparency has been previewed against the intended product or background
- The file’s color setup follows the provider’s instructions
If the image will become custom stickers or labels, obtain the product template or artwork specification before setting the canvas size. The cut line, bleed, safe area, and treatment of transparent pixels may affect how the file should be prepared.
PNG becomes a weaker handoff choice when a design includes very small type or logos that still exist as vectors in the source document. Flattening those elements converts them to pixels. If the provider accepts a suitable PDF, preserving the vector elements can make scaling and production checks more dependable.
Sharpness depends on effective PPI, not the extension
For raster artwork, the important calculation is the number of pixels distributed across the final printed dimensions. PPI describes image pixels per printed inch; printer DPI describes a printer’s output dots and is not an interchangeable measurement. Adobe identifies 300 PPI as a common benchmark for high-quality printing, while noting that large graphics viewed from farther away may use lower image resolutions.
Use this calculation for each dimension: required pixels = finished inches × target PPI.
Worked example: a 3 × 2 inch print
At 300 PPI, artwork covering 3 × 2 inches needs 900 × 600 pixels at the final trim size. The calculation is 3 × 300 = 900 pixels and 2 × 300 = 600 pixels.
That is the minimum canvas for the 3 × 2 inch trimmed area under this assumption. If the printer requests bleed, the artwork must extend beyond the trim. For example, a specified 0.125-inch bleed on every edge would produce a 3.25 × 2.25 inch artwork area, requiring 975 × 675 pixels at 300 PPI. Do not assume that bleed amount; use the provider’s template.
Changing a resolution field without resampling can change the intended print dimensions, but it does not change the available pixels. Resampling creates or removes pixel data, and enlarging a weak source cannot recover authentic detail that was not present.
This is why converting a 600 × 400 pixel PNG into a PDF does not make it suitable for a large print. The PDF is only a new container around the same limited image. If the source is too small, use a larger original, rebuild vector elements, reduce the print dimensions, or ask whether the product’s viewing distance permits a lower effective PPI. For artwork that has passed through messaging or social platforms, follow a controlled high-resolution artwork handoff workflow rather than forwarding another downloaded copy.
Transparency, backgrounds, and cut artwork
PNG supports alpha transparency, but transparent pixels do not define how a physical product will look by themselves. The result also depends on the substrate, white-ink workflow, product editor, and printer. Transparent areas might reveal white paper, a colored material, or a transparent base; some upload systems may instead flatten the artwork against a background.
Before submitting transparent PNG artwork, preview it over light, dark, and checkerboard backgrounds. Inspect soft shadows, partially transparent edges, white artwork, and faint pixels outside the intended design. Then verify how the provider displays the uploaded file. If the design needs a precise cut contour or separate white-ink layer, ask whether a vector PDF or another production format is required.
RGB or CMYK is a printer-specific decision
Do not convert every file to CMYK simply because it will be printed. Some providers request RGB files and perform conversion through a managed production workflow; others supply a CMYK profile or require a particular PDF output condition. Adobe advises coordinating commercial-print color requirements with prepress staff instead of applying one universal conversion rule.
Keep your editable master with its original color information. Export a delivery copy according to the printer’s specification. If no color instructions are published, ask the provider which color mode and profile it expects rather than choosing an arbitrary CMYK profile.
Common PDF and PNG printing failures
The PNG still looks blurry after conversion to PDF
Conversion changes the wrapper, not the source detail. Check the PNG’s pixel dimensions and calculate its effective PPI at the final size. If it is undersized, return to the original artwork or reduce the printed dimensions.
The PDF looks sharp on screen but prints soft
Zooming out on a screen can hide weak placed images. Inspect each raster image at its final placed size. A PDF may contain crisp vector text beside a low-resolution photograph, so evaluate the components rather than trusting the file extension.
The printer rejects the PNG upload
The service may require a PDF, a different color mode, fixed page dimensions, or artwork that includes bleed. Read the error message and compare the file against the product specification. Do not repeatedly rename the extension; re-export from the editable source using the requested settings.
The design came from social media and is too small
A social-media export may have been resized, compressed, cropped, or stripped of the original layout information. The best repair is usually to return to the source design and rebuild it at the print dimensions. This social-media graphic to print-ready workflow explains how to evaluate the printable size before rebuilding weak elements.
Pre-send checklist
- Confirm the final trim dimensions and orientation
- Use a format the provider explicitly accepts
- For PNG and other raster content, calculate effective PPI at the final size
- Add bleed only to the provider’s specified amount
- Keep text, logos, and essential details inside the safe area
- Preserve vector text and logos when the PDF workflow supports them
- Check for missing fonts, links, or images before exporting
- Follow the requested RGB, CMYK, and profile settings
- Preview transparency against the expected background or material
- Inspect the exported file at high zoom for artifacts and unwanted edges
- Upload the production export rather than a screenshot or messaging-app copy
- Retain the editable source file and an unchanged master image
If you regularly need both online images and production files, separate those outputs instead of making one export serve every destination. A batch export workflow for web and print helps preserve a master while creating correctly named, correctly sized deliverables.
The final choice
Choose PDF for a complete print layout, especially when it contains type, vectors, multiple elements, defined pages, or production details such as bleed. Choose PNG for an accepted single raster image that already has enough pixels and whose transparency has been checked.
Whichever format you select, inspect the contents rather than trusting the extension. Confirm the final dimensions, calculate effective PPI, follow the printer’s specification, and export from the best available source. Those checks determine print readiness far more reliably than simply changing a PNG into a PDF.
References
- Portable Network Graphics (PNG) Specification (Third Edition)
- Make PDFs print-ready in Acrobat Pro | Adobe Acrobat
- Produce print-ready PDF files in InDesign | InDesign
- Printing basics in Photoshop on desktop | Photoshop
- Image size, resolution, and resampling in Photoshop | Photoshop
- Understand printed image resolution in Photoshop | Photoshop
- Use Photoshop with a commercial printing press | Photoshop