
TLDR
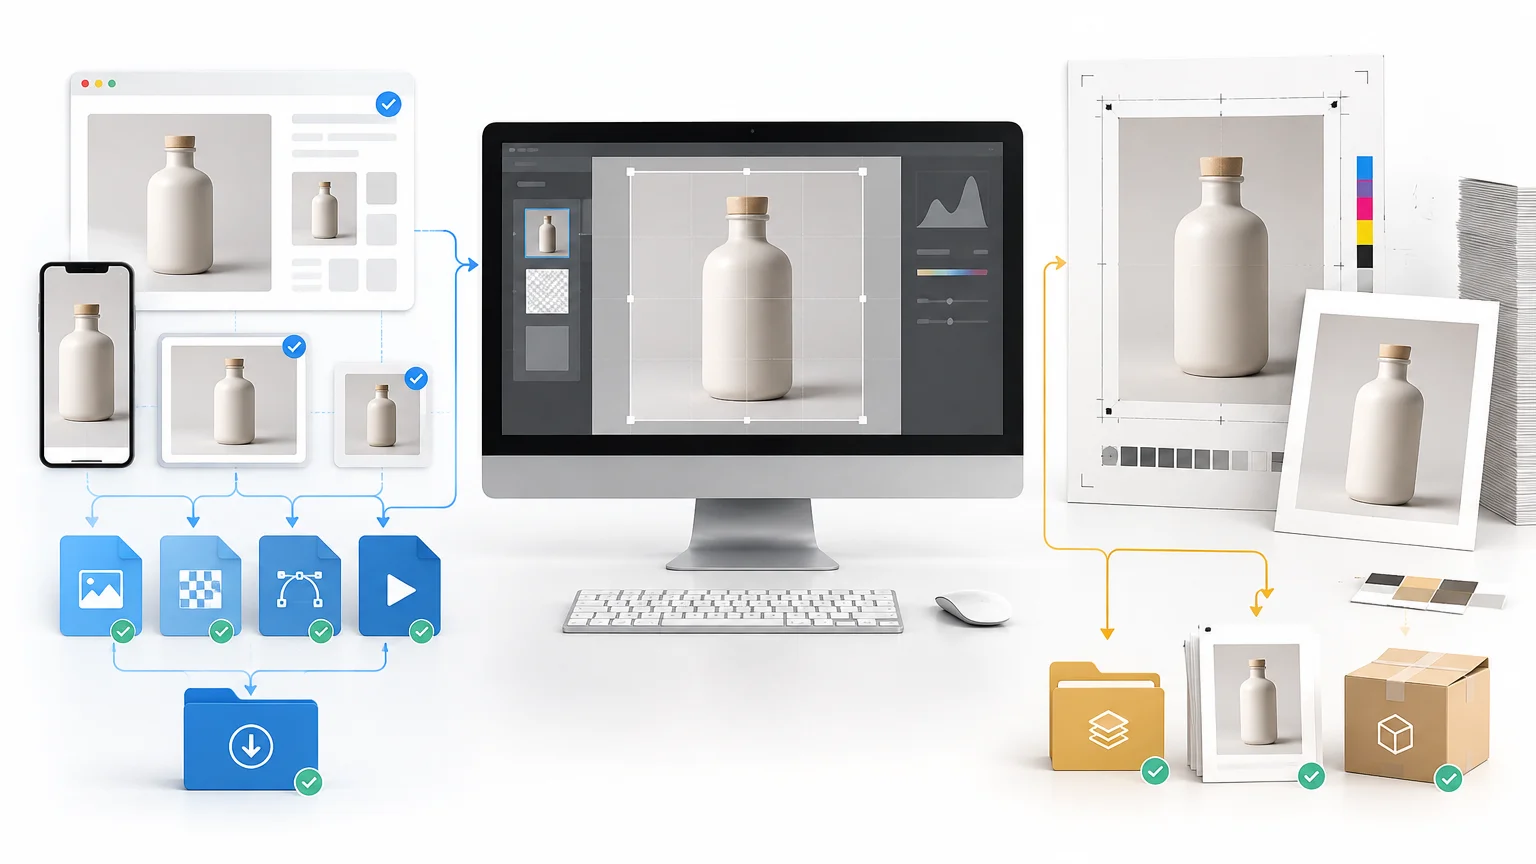
The safest way to batch export images web and print versions is to keep one full-quality edited master set, then run two separate export presets. Size web files in pixels for their actual destination. Size print files from the required physical dimensions and effective PPI, following the printer’s instructions for format, bleed, and color. Give each output set its own folder and filename suffix so nobody mistakes a compressed web image for a production file.
If your task is “batch export images web and print,” do not look for one universal quality setting. Web delivery rewards appropriate pixel dimensions, broad compatibility, and smaller files. Print delivery depends on physical size, available pixels, color handling, and provider specifications. A dependable workflow treats these as separate derivatives generated from the same approved master.
Start with one master and two delivery branches
Finish global editing, retouching, cropping, and approval before building derivatives. Preserve the original capture and a full-quality edited master without repeatedly resizing or compressing it. The master is the source; the web and print files are replaceable outputs.
This separation prevents a common failure: downloading a small website image months later and trying to use it for a brochure, poster, or label. It also makes revisions easier. If the crop or color treatment changes, update the master and rerun the appropriate presets instead of editing several disconnected copies.
Applications implement batch processing differently, but the useful controls are broadly similar. Lightroom Classic, for example, can automate the export location, filename, format, dimensions, output sharpening, metadata, watermarking, and post-export action. It can save those choices as reusable presets and avoid enlarging undersized originals. A solid workflow records the intended result rather than depending on one particular interface.
| File set | Sizing basis | Typical format | Color approach | Sharpening | Purpose |
|---|---|---|---|---|---|
| Master | Original pixels and approved crop | RAW plus edit data, PSD, TIFF, or another lossless working format | Preserve the managed working space | Retain editable treatment | Future exports and revisions |
| Web | Destination dimensions in pixels | JPEG, PNG, or a supported modern web format | Usually sRGB unless the platform says otherwise | Apply for final reduced size | Website, CMS, email, or marketplace |
| Final physical size and required effective PPI | JPEG, TIFF, or PDF as requested | Use the printer’s requested profile or workflow | Apply for final size and process | Production handoff and proofing |
Build the workflow in six stages
- Ingest and back up the original captures or source artwork. Do not place exports in the same folder as the originals.
- Complete edits on the highest-quality available source. Confirm the crop and remove temporary layers or elements that should not ship.
- Define actual destinations. Record the website slot dimensions and obtain the printer’s trim size, bleed, format, and color requirements.
- Create separate WEB and PRINT presets. Do not keep changing one generic export preset between jobs.
- Export into destination-specific folders with unambiguous filename suffixes.
- Inspect representative files and exceptions before releasing the full batch. Check the smallest source, the most detailed image, an image with saturated color, and any file with transparency.
For larger libraries, consistent organization matters as much as compression settings. A simple hierarchy is easier to audit than folders filled with names such as final, final-new, and final-2. The same principle is covered in more depth in a practical image hosting and folder workflow.
Use folders and filenames that identify the destination
A compact delivery structure might look like this:
- Project_Name/01_MASTERS
- Project_Name/02_EXPORTS/WEB_1600PX
- Project_Name/02_EXPORTS/PRINT_8X10_300PPI
- Project_Name/03_PROOFS
- Project_Name/04_DELIVERY_NOTES
Keep the original base name and append a meaningful specification: product-104-front_WEB-1600.jpg or product-104-front_PRINT-8×10-300ppi.tif. A filename cannot guarantee that a file is correct, but it immediately communicates its intended use. If crops differ by channel, include the ratio or placement, such as WEB-4×5 or PRINT-11×14.
Create a web export preset around pixels, not a PPI label
A web preset should begin with the image container’s required pixel dimensions. If a store needs product images that are 1,600 pixels on the long edge, export to that limit. Do not send the full camera file merely because the CMS can technically resize it. Conversely, do not guess one universal width for every website, social channel, or email template.
For photographic images, JPEG or a platform-supported modern format will often be suitable. PNG remains useful when lossless output or transparency is needed, but it can be unnecessarily heavy for ordinary photographs. The practical differences are explained in this comparison of JPEG, PNG, and WebP. Lightroom Classic also supports formats including AVIF and JPEG XL, although Adobe notes that support for those two remains limited across applications and platforms. Compatibility with the real publishing system matters more than choosing the newest format.
A reusable web recipe is:
- Resize by width, height, long edge, or the platform’s exact pixel box.
- Enable the option that prevents enlargement when the source is smaller than the target.
- Convert to sRGB unless the destination documents another supported color workflow.
- Choose compression after comparing visual quality at 100% and the expected display size.
- Apply output sharpening for the final reduced dimensions, if available.
- Keep copyright and useful descriptive metadata, but remove GPS coordinates and unnecessary private production data before public upload.
- Place the result in a WEB folder and add a WEB or dimension suffix.
The 72-versus-96-versus-300 PPI debate is largely a distraction for normal browser display. A browser primarily has a pixel grid to display. A 1,600 × 1,000-pixel file contains the same number of pixels whether its metadata says 72 PPI or 300 PPI. What matters for the web is the pixel dimensions, format, compression, and how the page displays the image.
Create the print preset from final physical dimensions
Print sizing starts with the finished product, not an arbitrary export dialog value. Ask for the trim dimensions, required bleed, preferred file type, target resolution, color profile, and whether the provider wants RGB, CMYK, or a standards-based PDF. Adobe specifically advises consulting the prepress provider rather than assuming that one RGB-to-CMYK procedure fits every commercial printing process. Review Adobe’s commercial-print preparation guidance
That instruction is especially important when exports will become packaging, brochures, signs, or custom stickers and labels. The production process determines whether a flat JPEG is acceptable or whether the provider needs a PDF containing vector elements, bleed, embedded profiles, and properly handled transparency.
For digital-print PDF workflows, the Ghent Workgroup’s Digital Print Specification uses PDF/X-4 compliance and includes checks intended to identify transparency and color-management problems. This does not mean every printer demands PDF/X-4. It illustrates why a printer-approved specification is safer than inventing a generic “print-ready PDF” recipe.
A reusable print recipe is:
- Confirm the final trim size and orientation.
- Add bleed only when required, using the provider’s exact amount.
- Calculate effective PPI before resampling.
- Avoid enlargement unless it is necessary and the resulting quality has been evaluated.
- Use the requested format and color profile; do not convert to CMYK by habit.
- Apply output sharpening for the final dimensions and print process where the software supports it.
- Embed the requested profile and include a proof or delivery note when color is important.
- Place files in a PRINT folder with size and specification suffixes.
If your source began as a small online graphic, inspect more than its resolution field. Thin text, logos, masks, gradients, and compression artifacts may need rebuilding. The workflow in turning a social-media graphic into a print-ready asset addresses that more specialized conversion.
Calculate effective PPI before exporting
The calculation is straightforward: effective PPI equals the number of pixels along one dimension divided by the intended size in inches along that dimension. Calculate both width and height. The lower result is the limiting resolution.
A 6,000 × 4,000-pixel image printed at 20 × 13.33 inches supplies about 300 PPI in both directions. At 25 × 16.67 inches, it supplies about 240 PPI. Adobe’s image-size documentation gives these same approximate native dimensions and explains that physical print size comes from pixel dimensions divided by resolution. See Adobe’s explanation of image size, resolution, and resampling
| Target print | Pixel dimensions at 300 PPI | Calculation |
|---|---|---|
| 8 × 10 inches | 2,400 × 3,000 pixels | 8 × 300; 10 × 300 |
| 8.5 × 11 inches | 2,550 × 3,300 pixels | 8.5 × 300; 11 × 300 |
| 11 × 14 inches | 3,300 × 4,200 pixels | 11 × 300; 14 × 300 |
These figures are planning targets, not universal acceptance rules. Adobe notes that roughly 220 PPI can often produce high-quality inkjet photo output, while commercial and halftone requirements depend on the output process and screen frequency. Viewing distance, subject detail, printer technology, substrate, and provider requirements can all change what is sufficient.
Why changing 72 PPI to 300 PPI does not create detail
Changing only the resolution metadata does not create pixels. If resampling is disabled, software assigns the existing pixels to a different physical size. For example, a 3,000-pixel-wide image is 10 inches wide at 300 PPI or about 41.7 inches wide at 72 PPI, but it still contains 3,000 pixels across.
Resampling is different: it adds or removes pixels. Downsampling can make a web file smaller. Upsampling estimates new pixels but cannot recover genuine texture, focus, or edge detail that the source never captured. Adobe distinguishes resolution reassignment from resampling on this basis.
Quality-check the batch before handoff
Do not assume a successful export means a correct delivery. Open files from both output folders in an application other than the one that created them. Check actual pixel dimensions, physical dimensions where relevant, color profile, extension, transparency, crop, orientation, and filename.
Then investigate the exceptions rather than opening every file at random. Small originals may have skipped the requested web dimensions because enlargement prevention was enabled. Panoramas and square crops may behave differently under a long-edge rule. Images with saturated blues, greens, or oranges may reveal color-conversion issues. Transparent artwork can fail if it was exported to a format that does not retain transparency.
| Problem | Likely cause | Corrective action |
|---|---|---|
| Print looks soft | Insufficient effective PPI, unintended enlargement, or weak source focus | Check source pixels against final inches; return to a stronger source or reduce print size |
| Web files load slowly | Pixel dimensions or compression are excessive for the placement | Export to the real display requirement and compare compression levels |
| Colors shift in print | Unmanaged conversion, wrong profile, or process limitations | Confirm the printer’s color workflow and request a proof when color is critical |
| Small files became larger but not sharper | The preset upsampled undersized originals | Enable no-enlargement behavior and flag exceptions for review |
| Printer rejects the files | Wrong format, bleed, profile, or PDF specification | Re-export to the provider’s documented production requirements |
| Web and print versions are mixed | Ambiguous folders or filenames | Separate delivery folders and add destination, size, and version suffixes |
Final release checklist
- The original captures and edited masters remain untouched.
- WEB and PRINT presets are saved separately and named by destination.
- Web exports match the required pixel dimensions and use a compatible format.
- Print exports match the intended physical size and provide adequate effective PPI.
- No file was enlarged accidentally.
- Color space and embedded profile match the destination instructions.
- Bleed is present only where required and has been checked against the final trim.
- Public web files do not expose unwanted GPS or private metadata.
- Filenames and folders make the intended use obvious.
- Representative images and known exceptions have been opened and inspected.
- The printer’s current specifications were confirmed before final delivery.
Make the export system repeatable
The best batch workflow is not the one with the most settings. It is the one that lets another person identify the master, understand every derivative, and regenerate the delivery without guesswork.
Start by documenting two presets: one for a real web placement and one for a real print product. Test them on a small mixed batch, including the lowest-resolution source and an image with difficult color or transparency. Once those files pass inspection, apply the presets to the full set and deliver the web and print folders separately.
References
- How to export Lightroom Classic files to disk or CD | Lightroom Classic
- Use Photoshop with a commercial printing press | Photoshop
- Digital print specification – Ghent Workgroup
- Image size, resolution, and resampling in Photoshop | Photoshop
- Understand printer resolution and screen frequency | Photoshop