
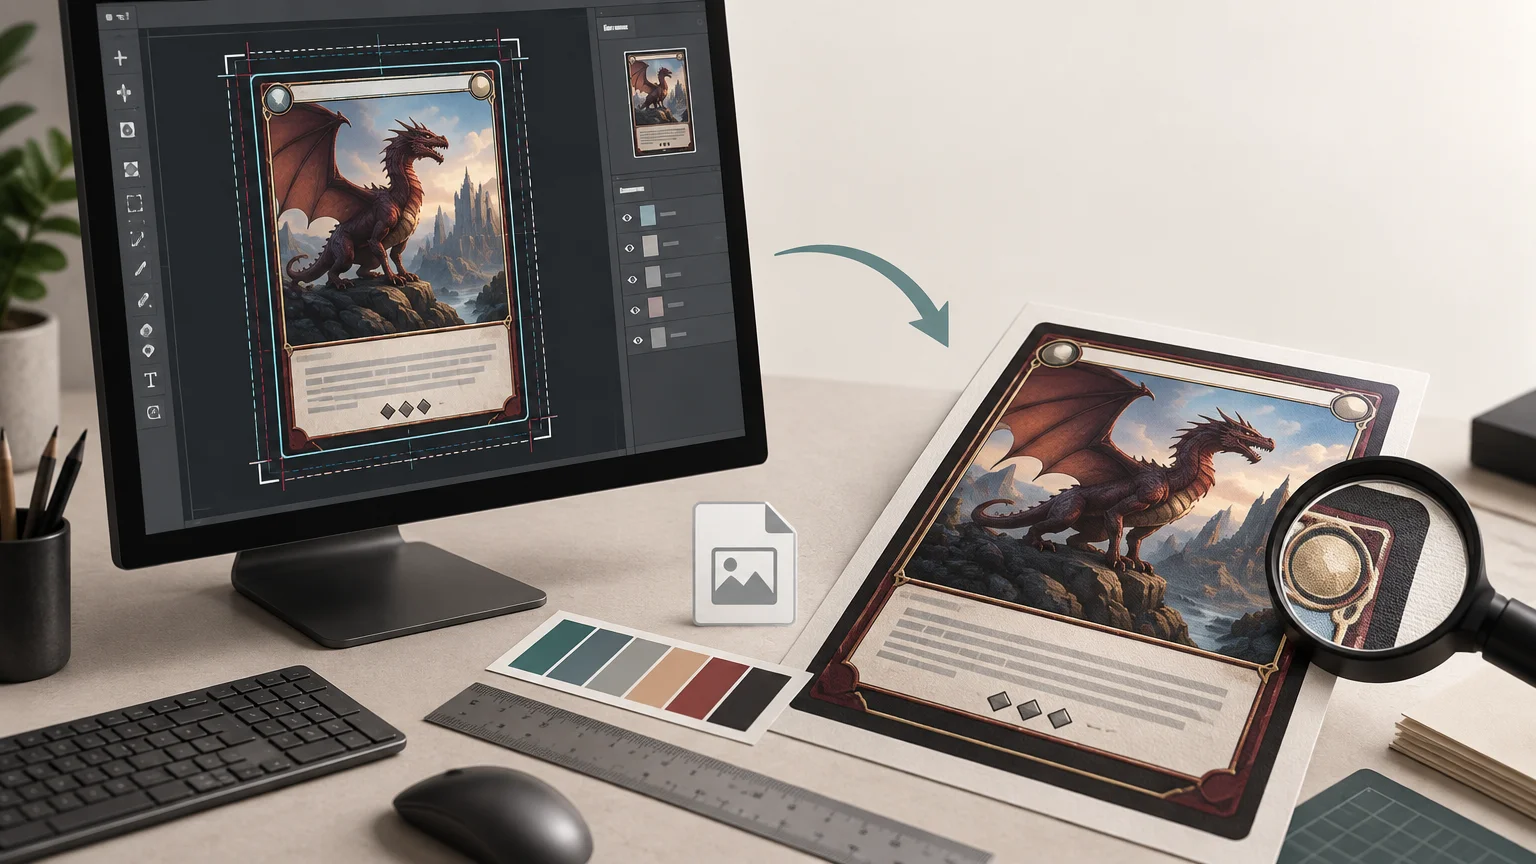
TLDR: For reliable PrintMTG image file preparation, build each full-bleed card face at 2.75 × 3.75 inches. At 300 pixels per inch, that is 825 × 1,125 pixels. Extend backgrounds through the bleed, keep text and other critical details at least 0.125 inch inside the 2.5 × 3.5-inch trim edge, and use a print-ready PDF for a completed layout. High-resolution PNG or TIFF files are also accepted for individual card faces. Check every card yourself before ordering because technical preflight does not replace proofreading or placement review.
The most common card-file problems are not dramatic. A border sits slightly too close to the cut, rules text was rasterized too early, or artwork that looked sharp on a monitor turns out to be too small for the printed area. A good PrintMTG image file preparation workflow catches those problems before export rather than relying on the printer to repair them.
Start with the correct card canvas
PrintMTG lists a finished card size of 2.5 × 3.5 inches. Artwork that reaches the edge needs 0.125 inch of bleed on every side, producing a 2.75 × 3.75-inch full-bleed canvas. The company also says critical content should remain at least 0.125 inch inside the trim edge.
| Area | Physical dimensions | Pixels at 300 ppi | Purpose |
|---|---|---|---|
| Full-bleed canvas | 2.75 × 3.75 inches | 825 × 1,125 px | Includes artwork that will be cut away |
| Finished trim | 2.5 × 3.5 inches | 750 × 1,050 px | Final card size after cutting |
| Bleed | 0.125 inch per side | 37.5 px per side | Prevents exposed unprinted edges after normal cutting variation |
| Critical-content inset | At least 0.125 inch inside trim | At least 37.5 px inside trim | Protects text, symbols, and important artwork from the cut |
Because a half-pixel guide is impractical, use consistent rounded guides in your design software rather than moving different edges arbitrarily. On an 825 × 1,125-pixel canvas, the trim begins about 38 pixels from each outside edge. Critical content should begin about another 38 pixels inward. A practical safe-area guide therefore sits approximately 75 pixels from the outside edge of the full-bleed canvas.
Bleed and safe area solve opposite problems. Bleed sends disposable background artwork beyond the cut. The safe area pulls indispensable material away from it. A texture, gradient, frame color, or illustration can continue through the bleed. Rules text, mana symbols, names, costs, collector information, and essential parts of the illustration should not.
Why 750 × 1,050 pixels is not a full-bleed file
A 750 × 1,050-pixel image corresponds to the trimmed 2.5 × 3.5-inch card at 300 ppi. It does not include the extra image area needed for a full-bleed 2.75 × 3.75-inch canvas. Stretching it to 825 × 1,125 pixels changes the dimensions but does not reveal real artwork beyond the original edges.
If this is the only file you have, place it on the larger canvas and inspect the result. A simple background may be extendable with deliberate editing. Detailed frame artwork might need to be rebuilt from a larger source. Avoid enlarging the entire card merely to fill the bleed because that can move text and frame details outside their intended positions.
Changing a resolution field from 72 ppi to 300 ppi does not automatically add image detail. Pixel dimensions determine how much image data exists, while print size and PPI determine how densely those pixels are printed. Resampling can generate additional pixels, but it cannot restore original details that were never captured. Adobe provides a useful explanation of image resolution and resampling for checking this distinction.
Calculate effective PPI before enlarging artwork
Use this calculation for any placed raster image: effective PPI = image pixels ÷ printed inches. Calculate the horizontal and vertical values separately, then use the lower result as the limiting resolution.
Suppose an illustration is 1,200 × 900 pixels and will occupy a 4 × 3-inch printed area before cropping. Both directions provide 300 ppi: 1,200 ÷ 4 = 300 and 900 ÷ 3 = 300. If the same image is enlarged to 6 × 4.5 inches, its effective resolution falls to 200 ppi. The file may still report 300 ppi in its metadata, but placement size controls the effective result.
Prepare card art separately from the card layout
Keep the source artwork and assembled card layout as separate working files. Crop and adjust the illustration at the art stage, then place it into the frame without repeatedly saving over the original. This preserves a usable master if you later need a different crop or card treatment.
- Begin with the largest clean source artwork available.
- Crop for the card’s art window while protecting faces, hands, weapons, lettering, and other focal details.
- Place the crop into the card layout as a linked or embedded high-resolution asset.
- Retain text, icons, borders, and frame components as vector elements where the software and export workflow allow it.
- Extend only disposable background elements into the bleed.
- Export a proof image and inspect the complete card at high zoom and approximately printed size.
Avoid using a heavily compressed web JPEG as the master. JPEG compression discards image information, and repeated saving can introduce more visible damage around text, hard edges, symbols, and fine illustration details. If you need separate web and print versions, preserve one master and generate purpose-specific outputs through a batch export workflow for web and print.
Keep small text, symbols, and borders printable
Small type needs more than a high PPI label. It also depends on clean letterforms, adequate contrast, sensible weight, correct color construction, and accurate font export. PrintMTG asks for fonts to be embedded or outlined and recommends 100% K black for small black text and fine black lines rather than a rich-black mixture.
Use live vector text until the final export when possible. If outlining is necessary, save an editable version first because outlined text is harder to revise and proofread. Do not apply JPEG compression to a card face containing fine type, and avoid rasterizing the entire layout at an unnecessarily early stage.
There is no supported universal minimum type size in the supplied PrintMTG requirements, so judge the actual font, weight, contrast, and amount of text rather than relying on one number. Print a 100% scale paper proof. It will not reproduce the exact production process, but it can quickly expose crowded rules text, weak contrast, oversized margins, or symbols that are difficult to distinguish.
Borders require special attention because even normal cutting movement becomes visible when a thin frame runs close and parallel to the card edge. Keep important border details inside the safe area. Let the outer background or border color continue through the bleed so a slight trim shift does not reveal a white edge. If the design depends on perfectly equal hairline margins on all four sides, reconsider the frame treatment rather than assuming the cut will hide the risk.
Choose PDF, PNG, TIFF, or JPEG deliberately
PrintMTG identifies a print-ready PDF, ideally PDF/X, as its preferred submission format. It also accepts high-resolution PNG and TIFF files for individual card faces while warning against low-resolution web JPEGs and heavy compression. For a broader explanation of the tradeoffs, see PDF versus PNG for printing.
| Format | Best use in this workflow | Main advantage | Primary caution |
|---|---|---|---|
| Print-ready PDF or PDF/X | A completed card layout | Can preserve vector text, fonts, and layout structure | Fonts and assets still need to be embedded or handled correctly |
| PNG | An accepted single-card raster face | Lossless compression and crisp hard edges | Confirm color handling for the particular upload route |
| TIFF | A high-resolution single-card raster face | Suitable for detail-preserving image handoff | Files can be large and still require correct dimensions and color settings |
| JPEG | A lightweight preview or temporary review copy | Small and widely viewable | Lossy compression makes it a poor master for small text and fine borders |
When exporting a PDF, include the document bleed so the full 2.75 × 3.75-inch artwork area reaches the output. Adobe’s guidance on how to set and export print bleed explains the general document setup. The supplied PrintMTG requirements establish the need for bleed but do not say that customer files universally require crop marks. Do not add marks merely because they appear print-related; follow the settings for the specific upload workflow.
Handle RGB and CMYK without guessing
PrintMTG requests CMYK color for print files. That is straightforward for a print-ready PDF or a TIFF workflow that supports the requested color setup. PNG handling is less straightforward because the supplied requirements also accept high-resolution PNG for individual card faces without documenting a universal CMYK-PNG process.
For a finished PDF handoff, use the requested CMYK workflow and preserve the color settings in the final export. For an individual PNG upload, confirm the expected color treatment for that upload path rather than forcing a CMYK conversion that the file or application may handle unpredictably. Keep the original layered RGB artwork as well as the converted production file so you can revise the conversion without degrading the source.
No print should be expected to match a bright display perfectly. Review color on a reasonably calibrated screen, avoid judging files with the display at extreme brightness, and pay special attention to dark artwork where shadow details can become difficult to distinguish.
Choose the right PrintMTG upload route
Use a completed print-ready PDF when you have built the whole card externally and want to preserve the intended typography, frame, placement, and bleed. This route gives you the most control, but it also makes you responsible for every layout decision.
If you have artwork but need help positioning it in a card workflow, PrintMTG’s custom card printing workflow includes a Card Maker that lets users upload artwork, reposition it, and preview the card before ordering. A preview is useful for catching an obvious crop problem, but it does not replace reviewing the source dimensions, safe placement, spelling, and final card face.
Final upload checklist
- The full-bleed canvas is 2.75 × 3.75 inches, or 825 × 1,125 pixels at 300 ppi.
- Background artwork reaches every outside edge of the bleed canvas.
- Text, symbols, and essential art remain at least 0.125 inch inside the trim edge.
- Placed artwork has sufficient effective PPI at its actual printed size.
- Nothing was stretched merely to manufacture bleed.
- Small black text and fine black lines use 100% K where applicable.
- Fonts are embedded or outlined in the production PDF, and an editable source remains archived.
- The exported PDF includes bleed; crop marks are added only if the chosen workflow specifically requests them.
- PNG or TIFF files use the accepted single-card dimensions and appropriate color handling for that route.
- The final exported file—not only the working document—has been checked for spelling, crop, card orientation, symbols, borders, and missing assets.
- The artwork and other submitted material are owned or used with permission, in line with PrintMTG’s content requirements.
PrintMTG describes its preflight as technical, and its process information indicates that production-stopping issues may prompt contact. Customers nevertheless remain responsible for their text, artwork, crop, and placement. Treat preflight as a final production gate, not as an editing or proofreading service.
Build once, inspect twice, then upload
The safest default is an 825 × 1,125-pixel full-bleed card face at 300 ppi, with critical details approximately 75 pixels or more from the outer canvas edge. Preserve vector text and frame elements where possible, use 100% K for fine black type, and hand off a print-ready PDF when you control the completed layout.
Before ordering, inspect the exported file at high zoom and print a 100% scale paper proof. Confirm the crop, legibility, border treatment, color mode, and rights to every submitted element. That short review is far easier than discovering a repeated issue after an entire card set has entered production.