
TLDR
The key to printing screenshots quality is not changing a file from 72 PPI to 300 PPI. It is making sure the screenshot contains enough pixels for its final size on paper. Divide the image width in pixels by its printed width in inches to find its effective PPI. If the result is too low, print it smaller, capture it again at a higher pixel count, or rebuild important text and graphics. Then protect that detail by avoiding unnecessary JPEG compression, enlargement, and aggressive PDF downsampling.
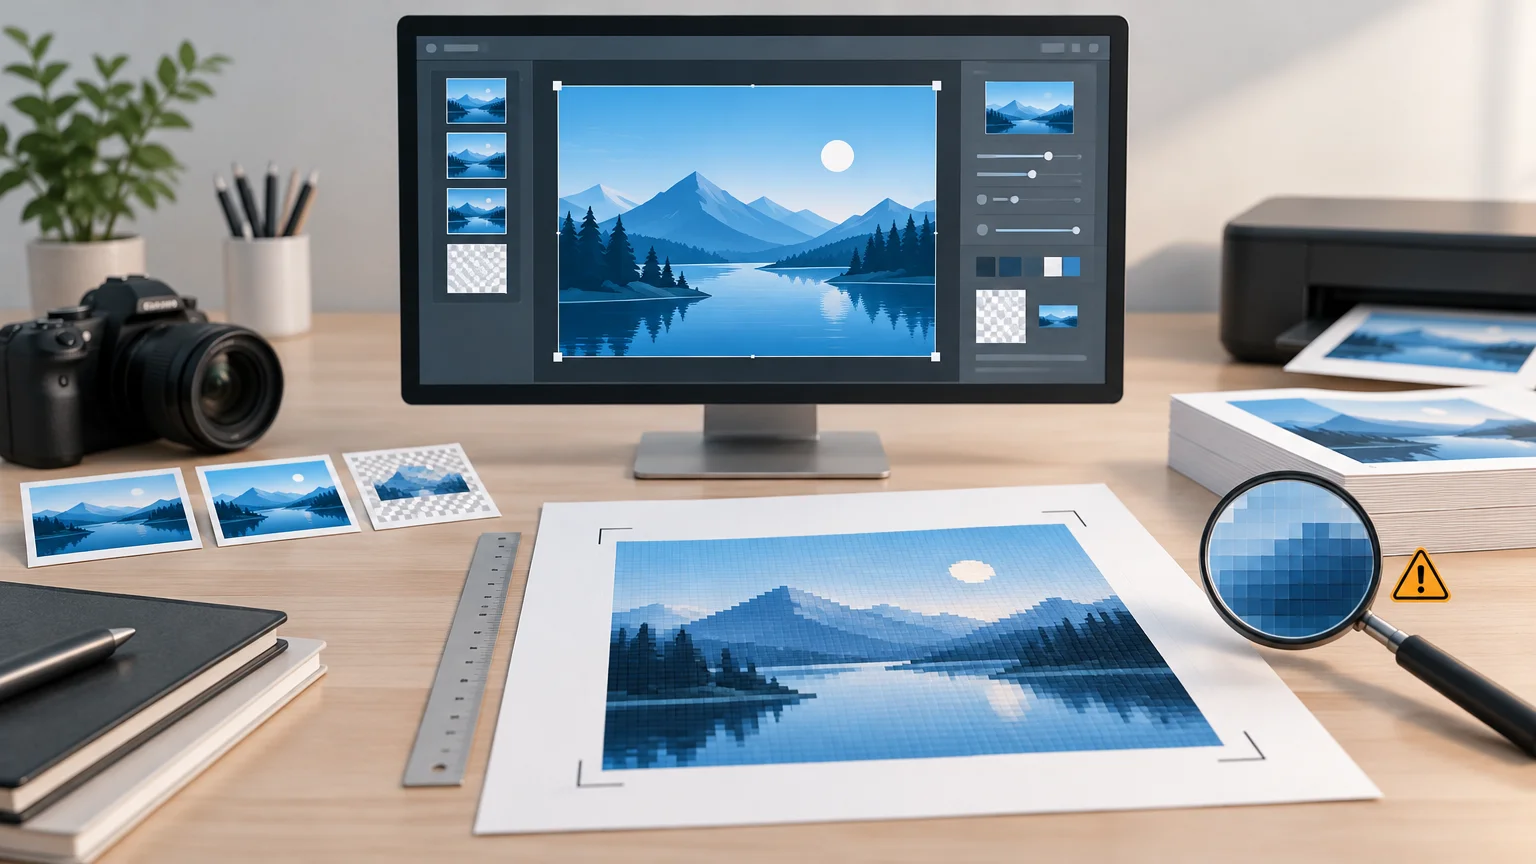
Screenshots often look perfectly sharp on a monitor but disappoint in print. That happens because a screen displays the image at one convenient viewing size, while a layout may enlarge the same fixed grid of pixels across several inches of paper. The larger the screenshot becomes, the farther apart those pixels must be spread—and the more visible soft edges, jagged text, and compression artifacts become.
Why a sharp screenshot can produce a soft print
A screenshot records a fixed number of pixels. A 1920 × 1080 capture contains 1,920 pixels across and 1,080 pixels from top to bottom. Its 72 PPI, 96 PPI, or 300 PPI metadata label does not change that underlying pixel count.
When resampling is disabled, changing the resolution field only changes the physical size assigned to those pixels. It does not create additional image information. Changing the pixel dimensions requires resampling, which makes the software generate or remove pixels. Adobe’s image-size documentation makes this distinction between pixel dimensions, print resolution, and resampling explicit.
This is why entering “300” in an image-resolution box is not a repair. A 1200-pixel-wide screenshot printed four inches wide has 300 pixels per inch. The same screenshot printed eight inches wide has only 150 pixels per inch, regardless of the metadata setting.
PPI, DPI, and effective PPI in plain English
- Pixels are the individual picture elements contained in the screenshot.
- PPI, or pixels per inch, describes how densely image pixels are placed at a particular physical print size.
- DPI, or dots per inch, normally describes a printer’s output dots. Printer DPI and image PPI are related production concepts, but they are not interchangeable measurements.
- Actual PPI is the resolution assigned to an image at its native or specified dimensions.
- Effective PPI is the resolution after the image has been scaled in a layout. Enlarging the placed image lowers its effective PPI; reducing it raises the effective PPI.
Use this calculation for either dimension: effective PPI = image pixels ÷ placed size in inches. For example, a 1920-pixel-wide screenshot placed 6.4 inches wide has an effective resolution of 300 PPI. At 10 inches wide, it has an effective resolution of 192 PPI.
Aiming near 300 PPI is a useful starting estimate for many close-viewed digital-print projects, but it is not a universal pass-or-fail rule. Printing conditions, image content, output process, paper, and viewing distance can change what is appropriate. Printing United Alliance discusses 300 PPI as a practical estimate for digital presses while emphasizing that the required resolution varies. Read its explanation of image resolution for digital presses.
How large can common screenshots print?
The following dimensions are calculated by dividing each pixel dimension by 300 or 220. They show the uncropped size of the complete screenshot, rounded to two decimal places. They are planning references, not promises about a particular printer or press.
| Screenshot dimensions | Size at 300 PPI | Size at 220 PPI |
|---|---|---|
| 1920 × 1080 px | 6.40 × 3.60 in | 8.73 × 4.91 in |
| 1440 × 900 px | 4.80 × 3.00 in | 6.55 × 4.09 in |
| 1170 × 2532 px | 3.90 × 8.44 in | 5.32 × 11.51 in |
| 3840 × 2160 px | 12.80 × 7.20 in | 17.45 × 9.82 in |
Cropping changes the calculation. If you crop a 1920-pixel-wide screenshot down to a 900-pixel-wide interface panel, that panel can be only three inches wide at 300 PPI. Placing it at six inches reduces its effective resolution to 150 PPI.
Small interface text can also fail before the overall image looks obviously pixelated. Thin letterforms, one-pixel dividers, compact icons, and anti-aliased edges leave little room for enlargement. Check those elements at their actual physical size rather than judging only from a zoomed PDF preview.
Capture the best source before editing
The easiest detail to preserve is detail you capture correctly at the beginning. Whenever possible, obtain the original photograph, diagram, logo, or interface asset rather than taking a screenshot of it. Original assets may offer more pixels, vector paths, or editable text.
If a screenshot is necessary, capture only the relevant area or crop from an untouched full-resolution capture. Operating systems may provide full-screen, window, and selected-area capture modes; for example, macOS includes all three options. Keep the original capture unchanged so that later crops and layout experiments do not become the only surviving copy.
Increasing the application or browser zoom before capture can help when the software rerenders interface text and controls at a larger pixel size. It will not necessarily improve a photograph or other raster image that the application merely stretches. Make a short test capture and compare its pixel dimensions and fine edges before committing to the full set.
Edit screenshots without throwing away detail
- Preserve an untouched original. Make crops and annotations on a duplicate or in a nondestructive working file.
- Crop before calculating print size. Your usable pixel budget comes from the cropped image, not the original desktop dimensions.
- Use PNG for working screenshots when practical. Its lossless compression is generally better suited to flat interface colors, sharp edges, and text than repeated JPEG saves.
- Avoid repeatedly opening and resaving JPEG copies. Lossy compression permanently discards image information and can create halos or block artifacts around text and icons.
- Resize only when the final dimensions are known. Enlarging through resampling may make a file contain more pixels, but it cannot restore the exact interface detail absent from the capture.
- Apply sharpening conservatively after final resizing. Excessive sharpening can add bright outlines and make small text look brittle.
- Replace critical tiny labels with real layout text when accuracy permits. Use original vector logos or icons when available instead of enlarging rasterized versions.
Upscaling can sometimes make edges appear smoother, but that is not the same as recovering the original text rendering or UI detail. If readers must identify a menu label, price, warning, or data point, recapturing or rebuilding that element is safer than trusting enlargement.
Check the screenshot inside the final layout
A screenshot does not have one permanent print resolution. Its effective PPI depends on how large it is placed. Check the final cropped image at its final dimensions, including any enlargement applied by the page-layout software.
Suppose a tutorial uses a 1600 × 1000 pixel screenshot. At five inches wide, its effective resolution is 320 PPI, and its proportional height is 3.125 inches. At eight inches wide, it falls to 200 PPI. If the smallest labels become difficult to read at eight inches, options include reducing the placed size, recapturing at more pixels, splitting the interface into multiple close-ups, or recreating essential labels as text.
Do not solve every readability issue by enlarging the whole screenshot. A numbered callout beside the image, a cropped detail panel, or a short caption can communicate the important step while keeping the main capture within its pixel budget.
Prevent quality loss during PDF export
A good source screenshot can still become blurry during export. PDF optimization and export settings may downsample images above a chosen threshold. JPEG or JPEG2000 compression can also discard image information. Check the export controls instead of assuming that every “high quality” preset preserves the original pixels.
For a complete page or multi-page document, a print-oriented PDF is often a more dependable handoff than a loose screenshot because it can preserve page size, placement, text, and other layout elements together. The correct preset, color settings, bleed, and PDF standard depend on the printer’s specifications; they should not be guessed. Adobe documents print-ready PDF creation and preflight workflows that can identify output concerns such as insufficient image resolution. For a closer comparison of handoff formats, see PDF versus PNG for printing.
After export, reopen the actual PDF you intend to send. Check the page dimensions, inspect screenshots at high zoom for newly introduced artifacts, and print a page at 100% scale on an available printer. A desktop proof cannot predict every production result, but it can reveal text that is physically too small, incorrect scaling, missing annotations, or an unexpectedly soft export.
Troubleshooting common screenshot print problems
| Problem | Likely cause | Best next action |
|---|---|---|
| The source is too small | The cropped screenshot lacks enough pixels for its placed size | Reduce the print size, recapture at a higher pixel count, or divide the content into close-ups. |
| The screenshot became blurry after PDF export | The PDF preset downsampled or heavily compressed the image | Review image downsampling and compression settings, export again, and compare the PDF with the source. |
| Tiny interface text is unreadable | The screenshot was enlarged or the original text rendered at too few pixels | Recapture at a larger rendered scale, reduce placement size, or recreate essential labels as real text. |
| The emailed or downloaded PDF looks worse | A messaging, sharing, or optimization step created a compressed copy | Return to the approved master, export a production copy, and transfer it without an extra optimization pass. |
| The printer asks for a proof | Screen appearance cannot confirm physical size and production behavior | Approve a physical proof at the intended dimensions, concentrating on small type, fine lines, crops, and contrast. |
A final preflight checklist
- Confirm the final cropped pixel dimensions.
- Confirm the screenshot’s placed width and height in inches.
- Calculate effective PPI at that placed size.
- Inspect fine text, icons, and one-pixel lines at physical proof size.
- Verify that no layout application has enlarged the image unexpectedly.
- Keep the original capture and an editable print master.
- Review PDF downsampling and compression settings.
- Open and inspect the final handoff PDF rather than relying on the working document.
- Follow the printer’s requirements for page size, color, bleed, fonts, and PDF settings.
- Transfer the production file without routing it through a service that may recompress it.
If one master file must serve web and print, separate the deliverables rather than repeatedly converting the same exported copy. A structured batch export workflow for web and print helps preserve the print master while producing smaller online versions.
The practical takeaway
A screenshot can print well when its cropped pixel dimensions support its final physical size and that detail survives the workflow. Start with the equation, not the metadata label: pixels divided by inches equals effective PPI. Then protect the result through careful cropping, lossless working files, sensible placement, controlled PDF export, and a physical-size check.
If the calculation comes up short, the honest fixes are to print smaller, recapture at a higher pixel count, obtain the original asset, or rebuild critical elements. Changing 72 PPI to 300 PPI without adding real source detail does not improve the image. Once the artwork is ready for production, broader printing resources can help with the next stage of the project, but the printer’s own file requirements should govern the final handoff.
References
- Image size, resolution, and resampling in Photoshop | Photoshop
- Understand printed image resolution in Photoshop | Photoshop
- Understand printer resolution and screen frequency | Photoshop
- Printing basics in Photoshop on desktop | Photoshop
- How much resolution is enough for images printed on my digital press?
- Take a screenshot on Mac – Apple Support (IE)
- Reduce PDF file size by unembedding fonts in Acrobat Pro | Adobe Acrobat
- Produce print-ready PDF files in InDesign | InDesign